The Ultimate Guide to Building a Budget Desktop PC
Build a powerful, affordable desktop PC: pick the right CPU, GPU, RAM, and storage, assemble step‑by‑step, and learn upgrade paths and saving tips.
Budget Blueprint
A successful budget desktop PC starts with a clear priorities list. Identify your main tasks, such as schoolwork, office productivity, casual gaming, content creation, or media consumption. Assign a portion of your budget to each component based on impact: the CPU and storage affect responsiveness, the GPU influences graphics performance, and the PSU and case protect your investment. Consider total cost of ownership, including peripherals, operating system, and a few inexpensive tools. Maximize performance-per-dollar by focusing on parts that deliver the most noticeable gains for your workload, and plan for upgrade paths so you can add a better GPU, more RAM, or a larger SSD later. Double-check compatibility for socket, form factor, memory type, and physical clearances. Reuse what you can, like a case or drives, if they meet current standards and do not compromise reliability. Track hidden costs such as shipping, thermal paste, extra fans, and cable extensions. Create a simple checklist that maps features to needs, which prevents impulse buys and keeps your build aligned with your goals.
CPU and Motherboard: The Core of Value
Your CPU and motherboard define the platform, feature set, and future upgrades. Choose a processor with enough cores and threads to match your software, balancing single-core speed for snappy feel and multi-core capability for multitasking and light rendering. If you do not need a discrete GPU, a CPU with integrated graphics can save money and complexity. Pair it with a motherboard that matches the socket and supports the memory type you plan to use. Pay attention to VRM quality, chipset features, and I O options such as USB ports, M.2 slots, and networking. A reliable BIOS, straightforward updates, and memory compatibility lists improve stability. Consider form factors like ATX for expandability or microATX for compact value, ensuring your case supports them. Think ahead about extra PCIe slots for future storage, capture cards, or Wi Fi. Avoid overspending on features you will not use, but do not skimp on essentials that affect stability, such as power delivery and cooling options around the socket.
Memory and Storage: Speed Meets Capacity
For most budget builds, 16 GB of RAM offers a comfortable baseline, with dual-channel kits providing the best balance of bandwidth and cost. Match frequency and timings to your platform, and enable memory profiles in the firmware for rated speeds. Mixing different modules can work but may reduce performance or stability, so plan a matched kit when possible. On storage, a fast NVMe SSD makes the system feel responsive during boots, app launches, and game loads. Consider a modest-capacity NVMe drive for the operating system and frequently used apps, plus a larger SATA SSD or HDD for bulk media and backups. Look for drives with a DRAM cache for consistent performance, and leave some free space to maintain SSD health. Organize data by separating system files from projects and downloads to keep things tidy. If you edit media or develop software, a dedicated scratch drive can prevent slowdowns. Keep firmware updated, schedule regular backups to an external drive, and monitor SMART health to catch issues early.
Graphics on a Budget: Integrated or Discrete
Choosing between integrated graphics and a discrete GPU depends on your use case. Integrated solutions handle productivity, media playback, and light gaming with careful settings, making them a strong value. For esports or creative workloads that benefit from GPU acceleration, an entry-level discrete card can provide a big uplift. Focus on VRAM capacity, power connectors, and length to ensure case and PSU compatibility. Mind bottlenecks by pairing the GPU with a CPU that matches the performance level you seek. If you are sensitive to noise and heat, consider efficient cards and set a fan curve that balances acoustics and temperatures. Explore resolution and settings scalers that improve frame rates on modest hardware without sacrificing too much image quality. The used market can stretch your budget, but verify condition, test under load, and avoid cards with mining history if possible. Always perform a clean driver install, disable unnecessary overlays, and keep the system free of background tasks that steal frames.
Case, Power, and Cooling: Quiet Efficiency
A good case and PSU protect your components and reduce headaches. Prioritize airflow with a mesh front, space for intake and exhaust fans, and dust filters for easy maintenance. Check GPU and cooler clearances, cable routing channels, and front panel connectors. For cooling, stock coolers can be adequate at stock settings, while modest tower air coolers offer quieter operation and thermal headroom. Use quality thermal paste, secure even mounting pressure, and create a balanced fan layout that favors slightly positive pressure to reduce dust buildup. Choose a PSU from a reputable line with the wattage to support your current parts plus room for upgrades. Look for efficiency badges, strong protections such as OCP and OVP, and cables long enough for clean routing. Semi modular or fully modular designs simplify management. Avoid running the PSU near its maximum capacity; a comfortable margin improves efficiency, acoustics, and longevity. Good airflow and power stability yield consistent performance and keep components healthy over time.
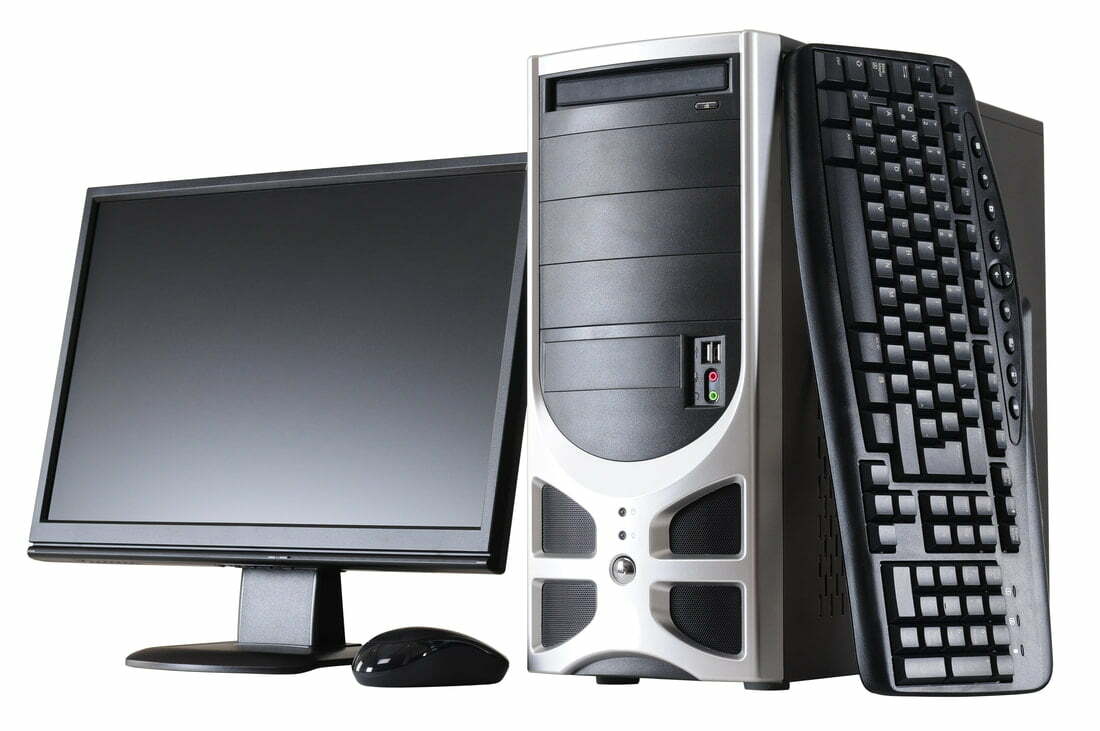
Peripherals, Monitor, and Software Essentials
Budget builds shine when paired with smart peripheral choices. Select a monitor that matches your GPU and tasks: resolution for clarity, refresh rate for smooth motion, and panel type for color and viewing angles. A practical keyboard and mouse improve comfort; consider key feel, switch type, and sensor accuracy based on your work. For audio, compact speakers or a reliable headset enhance meetings, games, and streaming. If your motherboard lacks wireless features, add a Wi Fi and Bluetooth adapter for flexibility. Plan external storage for backups and quick transfers. On software, start with a clean operating system install, update chipset, graphics, and network drivers, and disable unnecessary startup items. Use proven utilities to monitor temperatures and fan speeds, and create a restore point before major changes. Consider free tools for office work, media playback, and security to stretch your budget. A tidy, minimal setup reduces distractions, helps the system boot faster, and keeps resources focused on the tasks you value most.
Assembly, Testing, and Upgrades
Build with patience and a methodical approach. Prepare a clear workspace, discharge static, and read component manuals. Install the CPU, RAM, and M.2 SSD on the motherboard before placing it in the case, and verify standoffs align correctly. Apply a small dot of thermal paste, seat the cooler evenly, and route cables to avoid obstructing fans. Connect front panel headers carefully and double check power connectors for the CPU and GPU. Perform a first POST test outside the case if possible to confirm basic function. After installing the OS, update firmware, enable memory profiles, and run stability tests for CPU, memory, and GPU while monitoring temperatures. Tune fan curves for a quiet yet cool system and confirm idle power behavior. Document your build, keep spare screws and zip ties, and label cables for future changes. Plan upgrades in stages, such as adding more RAM, a stronger GPU, or additional storage, ensuring your PSU and cooling can handle the improvements.