Sunsets and Skylines: Best Spots for Travel Photography
From rooftop bars to coastal headlands, explore the planet's prime perches for sunset skylines, with timing, gear, and composition tips.
Chasing the Golden Hour
The best travel photographs of sunsets and skylines start with the golden hour, when light softens and colors bloom. Scout locations earlier in the day to understand the sun path, angles, and potential foreground elements like trees, statues, or railings that add scale. Aim for west-facing terraces, hilltops, or waterfront promenades with a clear view of the horizon. Compose with the rule of thirds, letting the sky or city fill two-thirds of the frame to emphasize drama, and watch for leading lines—roads, rivers, or rooflines—that guide the eye. A lightweight tripod helps stabilize long exposures as light fades, and bracketing can protect delicate highlights while preserving shadow detail. Clouds are your friends: thin layers scatter color, while gaps create bursts of afterglow. Arrive early, stay late, and be patient; the most vivid tones often appear minutes after the sun dips. Respect local spaces, move thoughtfully around other travelers, and leave nothing behind but footprints.
Waterfront City Vistas
Harbors, river bends, and coastal boulevards offer magnetic cityscape views, especially when the water doubles as a mirror. Look for sheltered inlets, marinas, and piers where wind is calmer; a smoother surface yields cleaner reflections. Use piers, breakwaters, or railings as leading lines that pull attention toward the skyline. Waiting for boats to glide into frame adds movement and scale, while silhouetted pedestrians, benches, and street lamps give context. If the sky is bright and the foreground dark, try exposure blending to balance dynamic range. A subtle neutral density filter can lengthen shutter speeds for a glossy water sheen, but keep an eye on safety near wet surfaces and changing tides. As the sun sinks, pivot to the blue hour for electric hues that complement warm city lights. Frame higher viewpoints across the water for separation between buildings, and step back when possible to include textured clouds—an easy way to deepen color and tell a broader travel story.
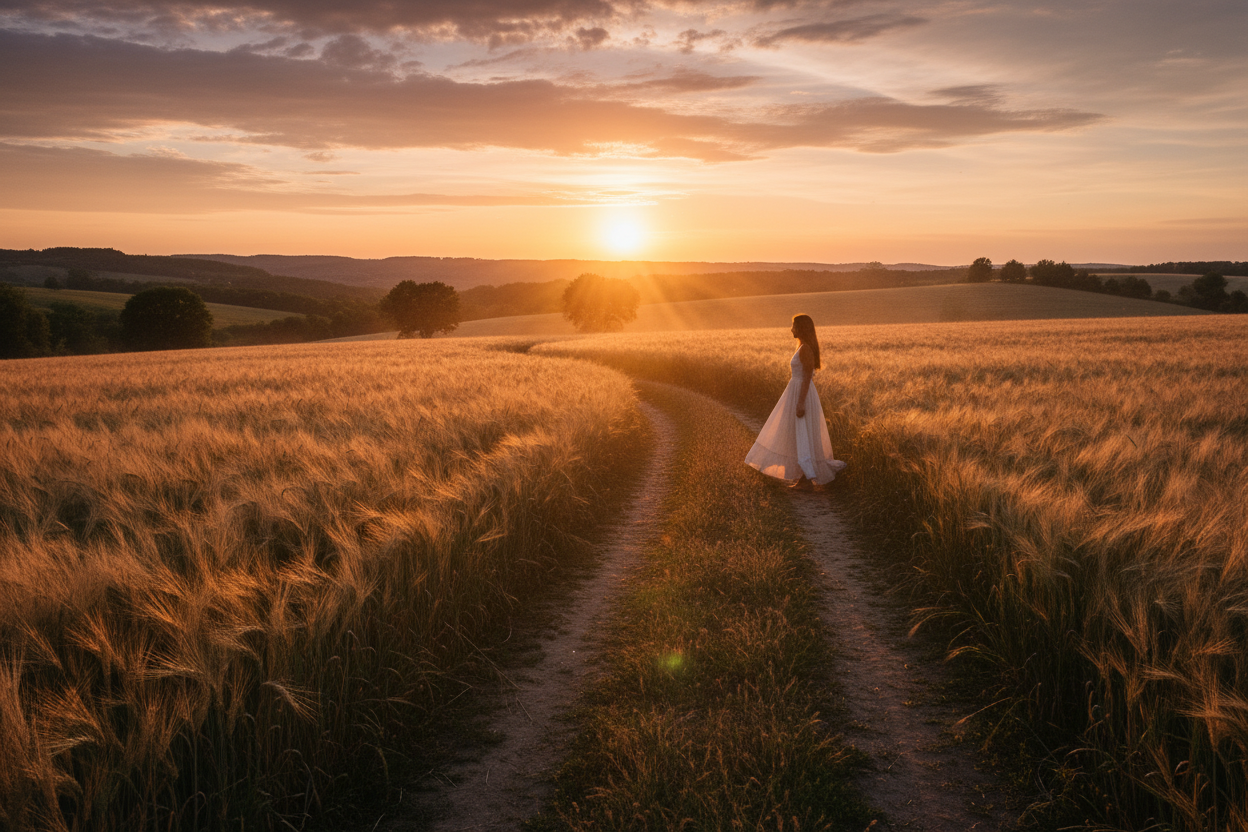
Peaks, Plateaus, and Dunes
High viewpoints reward patience with layered silhouettes and far-reaching skylines, whether you're perched on a ridge, a plateau above a valley, or standing atop wind-sculpted dunes. Arrive early to navigate trails in comfortable light and mark safe return routes. From mountains, compress distant ranges with a short telephoto to reveal gradients of haze; in deserts, low-angle sun shapes ripples and casts dramatic shadows that emphasize form. Consider a small aperture for a crisp starburst when shooting directly toward the sun, and use foreground textures—rocks, wildflowers, or dune grass—to anchor the scene. The air at elevation can be clear and contrasty; bracketing helps manage bright skies and deep valleys. Pack layers, water, and a compact tripod, and respect the terrain by sticking to established paths to protect delicate ecosystems. When conditions shift—dust, fog, or passing clouds—embrace them; atmosphere adds mood, scale, and a timeless sense of place to your travel photographs.
Urban Heights and Iconic Angles
Observation decks, accessible rooftops, bridges, and hillside parks provide essential skyline vantage points without straying far from the city's pulse. Verify access hours and guidelines, and always choose permitted, safe locations. Position yourself to capture leading lines from avenues and river curves; when lights flicker on, blend sunset with blue hour to record luminous trails and reflective windows. Shooting through glass? Shield the lens with a jacket or rubber hood and angle slightly to reduce flare. A polarizer helps tame glare on water and glass, while a compact tripod or stable ledge steadies long exposures. For variety, frame architectural details—spires, domes, cranes—against glowing skies, and seek symmetry in plazas or roof gardens. Shift elevation to avoid merging building edges, and leave breathing room around tall landmarks. If wind rattles your setup, lower your profile and use a timer to minimize shake. Above all, be courteous in shared spaces and keep gear tidy and close.
People, Stories, and Practical Prep
Sunsets and skylines become memorable when paired with human stories—a commuter pausing on a bridge, friends gathering at a lookout, or a vendor closing shop beneath a radiant sky. Use silhouettes to preserve privacy while adding emotion and scale; backlighting naturally defines shape without revealing details. Travel light: a wide-angle for sweeping vistas, a mid-range lens for versatility, extra batteries, and a pocket-size tripod to handle slower shutter speeds. Keep a microfiber cloth handy for sea spray or rooftop dust, and store spare cards in a secure pouch. Build a flexible plan with a primary viewpoint and a nearby backup; if clouds hide the sun, wait for afterglow along the horizon. Practice mindful movement, avoid blocking viewpoints, and ask permission when appropriate. Opt for public transit or walking where possible to reduce impact and discover unexpected angles. With patience, respectful presence, and thoughtful preparation, your images will carry the rhythm, color, and character of each destination.