How to Build a PC from Parts to Power-On
From choosing components to cable management and first boot, this step-by-step guide walks you through building a reliable PC with confidence.
Planning Your Build: In the world of computers and consumer electronics, a successful PC build starts with clear goals and a realistic budget. Define your primary use cases, such as gaming, content creation, software development, or home theater, because they shape your component choices. Decide on a form factor that fits your space and performance needs, and sketch a parts list that balances performance, thermals, and noise. Plan a clean, well-lit workspace and gather essential tools: a magnetic Phillips screwdriver, anti-static strap or frequent grounding habit, thermal paste, rubbing alcohol and lint-free wipes, cable ties, and small trays for screws. Back up any data you plan to migrate and confirm you have an OS installation USB ready. Create a timeline to reduce rush, and keep manuals or digital PDFs handy for quick reference. The more you prepare, the easier it is to avoid common pitfalls like incompatible parts, missing cables, or a case that cannot accommodate your cooler or graphics card.
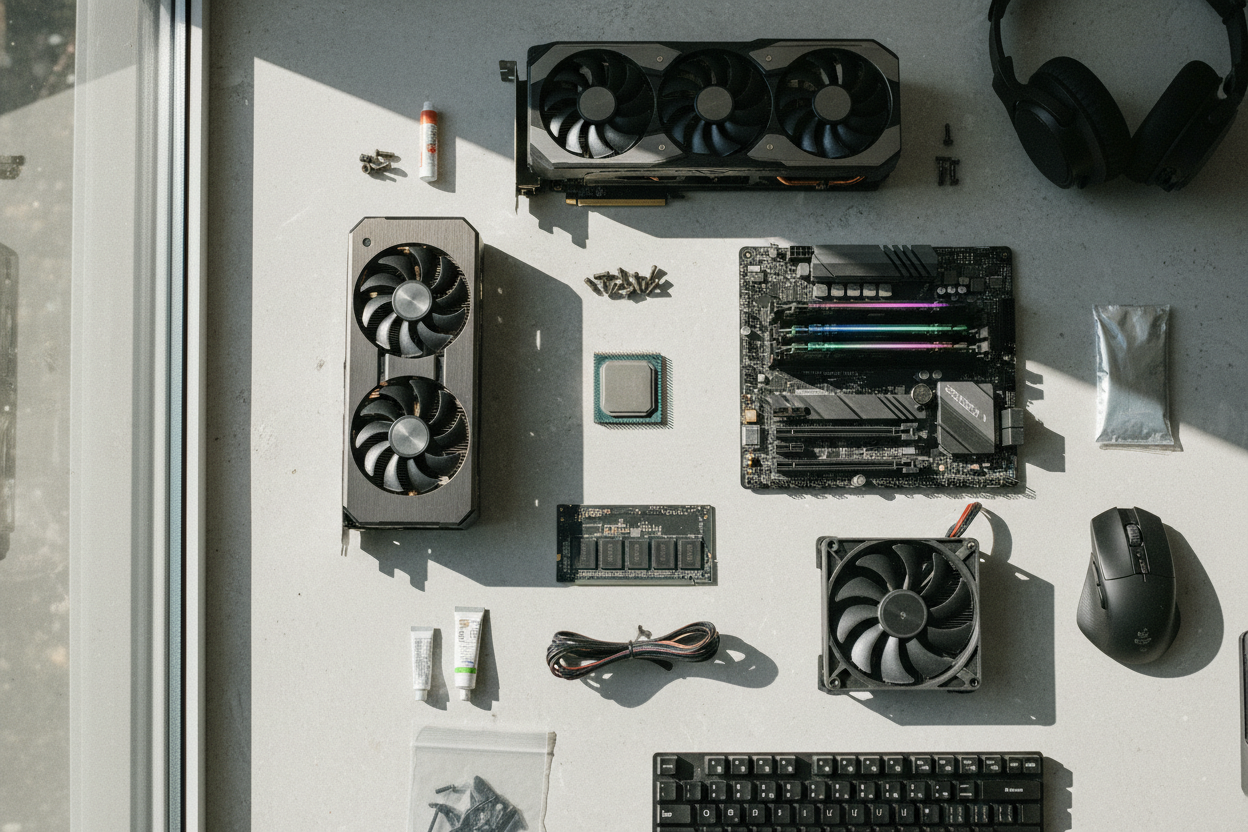
Choosing Compatible Components: Start by selecting a CPU that matches your performance objectives and ensure your motherboard supports its socket and features. Look for robust VRMs, adequate rear I/O, the right number of M.2 slots, and the preferred form factor (ATX, microATX, Mini-ITX). Plan memory capacity early; most builders benefit from dual-channel kits with room to expand, and later you can enable XMP/EXPO for rated speeds. For storage, combine NVMe SSDs for speed with SATA drives for capacity. Select a GPU that aligns with your resolution and refresh rate targets, confirming length and thickness fit your case. Choose a PSU from a reputable line with ample wattage headroom, high efficiency, and the necessary connectors, including modern high-power GPU plugs if required. Verify airflow and cooler clearance in the case, including radiator support if you prefer an AIO. Compatibility checks now save headaches when everything is unboxed.
Preparing Workspace and Case: Before mounting parts, prepare a stable table with good lighting and a non-conductive surface. Ground yourself often or use an anti-static strap. Open the case, remove both side panels, and set aside all accessory bags and screws. Identify and install the correct standoffs to match your motherboard's form factor, verifying alignment to prevent short circuits. Plan airflow by deciding intake and exhaust placement; front and bottom typically feed cool air, while top and rear exhaust heat. Pre-route front panel cables through grommets to reduce clutter later and test-fit your radiator or additional fans if applicable. If your case uses a snap-in I/O shield, confirm its orientation and tabs. Keep the motherboard manual nearby for the front panel header, USB, and audio pinouts. Label or visually group cables (24-pin, EPS, PCIe, SATA) for quick access. A few minutes of planning cable paths and component order can dramatically improve both thermals and build aesthetics.
Install CPU, Cooler, Memory, and M.2: Work on the motherboard outside the case to simplify delicate steps. Open the CPU socket, align the triangle marker, and lower the chip gently with zero force before locking the retention arm. Apply thermal paste using a small pea-sized dot unless your cooler includes pre-applied compound. Mount your air cooler or AIO pump according to the manual, tightening screws evenly in a cross pattern to maintain pressure. Orient fans for optimal airflow and plug the cooler into the CPU_FAN or AIO_PUMP header as instructed. Seat RAM firmly in the recommended dual-channel slots until both latches click. Install M.2 NVMe drives by removing the tiny screw, inserting the drive at an angle, then securing it flush with the standoff; attach heatsinks if provided. These steps reduce case-side contortions later and ensure you can spot alignment or clearance issues early, especially around tall heatspreaders or bulky cooler fins.
Mount Motherboard and Power Supply: Press the I/O shield into the case until it snaps securely, then lower the motherboard onto standoffs, aligning rear connectors with the shield. Confirm there are no extra standoffs that could short the board. Fasten screws snugly in a diagonal pattern without over-tightening. Install the PSU with its fan oriented toward filtered intake if available, and secure it with the included screws. If using a modular unit, connect only required cables: the 24-pin motherboard power, 8-pin (or 4+4) EPS for CPU, PCIe for GPU, and SATA for drives and accessories. Pre-route cables through the rear of the case to minimize clutter. Connect case fans to motherboard headers or a hub, ensuring consistent airflow direction. Plan cable slack to reach headers without strain, leaving room for future upgrades. This stage lays the foundation for neat management and simplifies every connection that follows.
Install Storage, GPU, and Expansion: Mount 2.5-inch SSDs on trays or behind the motherboard, and 3.5-inch HDDs in cages with vibration-damping hardware when available. Run SATA power from the PSU and SATA data to the motherboard, keeping cables tidy to maintain unrestricted airflow. For NVMe drives already installed, ensure heatsinks are secured and unobstructed. Insert your GPU into the top full-speed PCIe x16 slot, remove the correct slot covers, and secure the card firmly with screws. Attach the appropriate PCIe power connectors; if using high-power plugs, seat them fully and avoid sharp bends near the connector to maintain safe contact. Optional cards, like Wi‑Fi, capture, or sound cards, fit lower slots as needed. Connect front-panel USB-C, USB 3, and additional accessories according to the motherboard manual. A careful approach here improves reliability, reduces coil whine and resonance, and preserves case cooling performance.
Cabling, Front Panel, and First Power-On: Tidy cable runs behind the motherboard tray using Velcro straps or zip ties, avoiding tight bends and fan interference. Connect the front panel header precisely: power switch, reset switch, power LED, and storage LED. Attach HD Audio, USB 3, and USB-C headers, ensuring each connector is fully seated. Double-check the 24-pin, EPS, PCIe, and SATA connections. Before closing panels, perform a pre-boot checklist: monitor and keyboard connected, GPU on the top slot, memory firmly latched, cooler plugged into the correct header, and fans unobstructed. Power on and watch for POST indicators, beeps, or debug LEDs. If there is no display, reseat RAM, verify the monitor cable is on the GPU, confirm CPU power is connected, and consult the motherboard manual's diagnostic section. As a troubleshooting step, try a minimal configuration or breadboarding outside the case to isolate issues quickly and safely.
Firmware Setup, OS, and Validation: Enter the BIOS/UEFI to verify component recognition, monitor temperatures, set the correct boot order, and enable XMP/EXPO for memory. Configure fan curves for a balance of cooling and acoustics, and update firmware if recommended by the manufacturer. Install your operating system from a prepared USB installer, then add chipset, storage, and graphics drivers to ensure stability and performance. Run basic stress tests for CPU, GPU, and memory while monitoring temperatures and clock behavior to validate your build. Fine-tune fan profiles, check for cable rub or resonance, and complete cable management with final ties before closing panels. Keep dust filters clean, schedule occasional interior maintenance, and document your component list for future upgrades. With methodical planning and careful assembly, you will have a responsive, cool-running system tailored to your needs and ready to evolve with the broader computers and consumer electronics landscape.